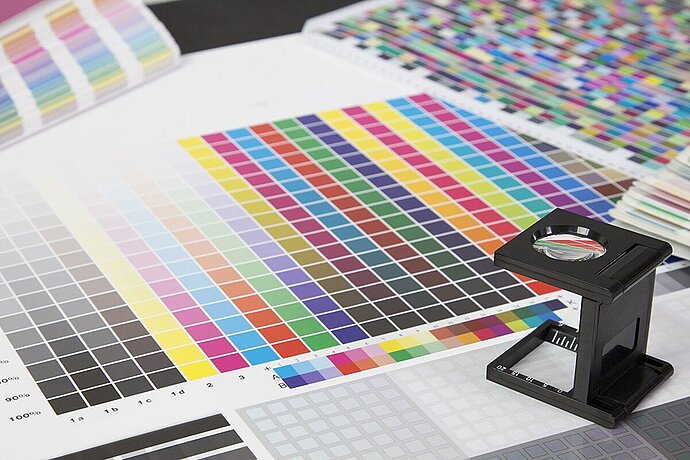
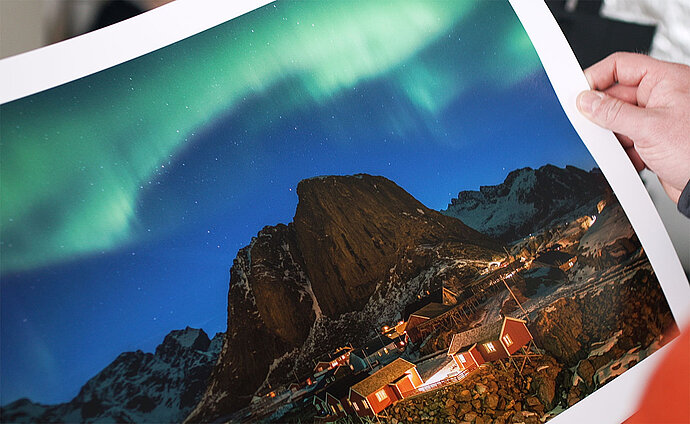
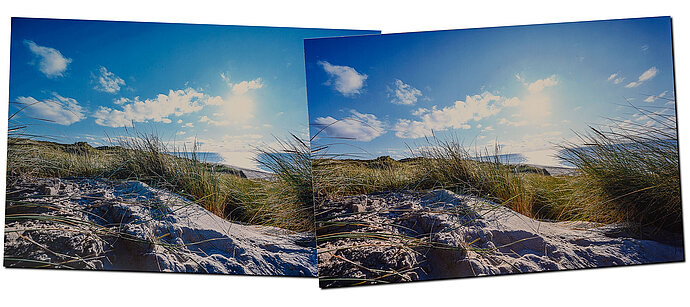
The printing process, printer, colour and, above all, paper all have a huge influence on how a file looks when printed. The same file looks completely different on glossy paper than it does on a matt, grained canvas. While the glossy print features high contrasts and saturated colours, the canvas print is poor in contrast, less colorful and often has warm tones. This image effect is the result of the different properties of the various print materials and processes.
Episode 09
Printer profiling
Colour management for photographers
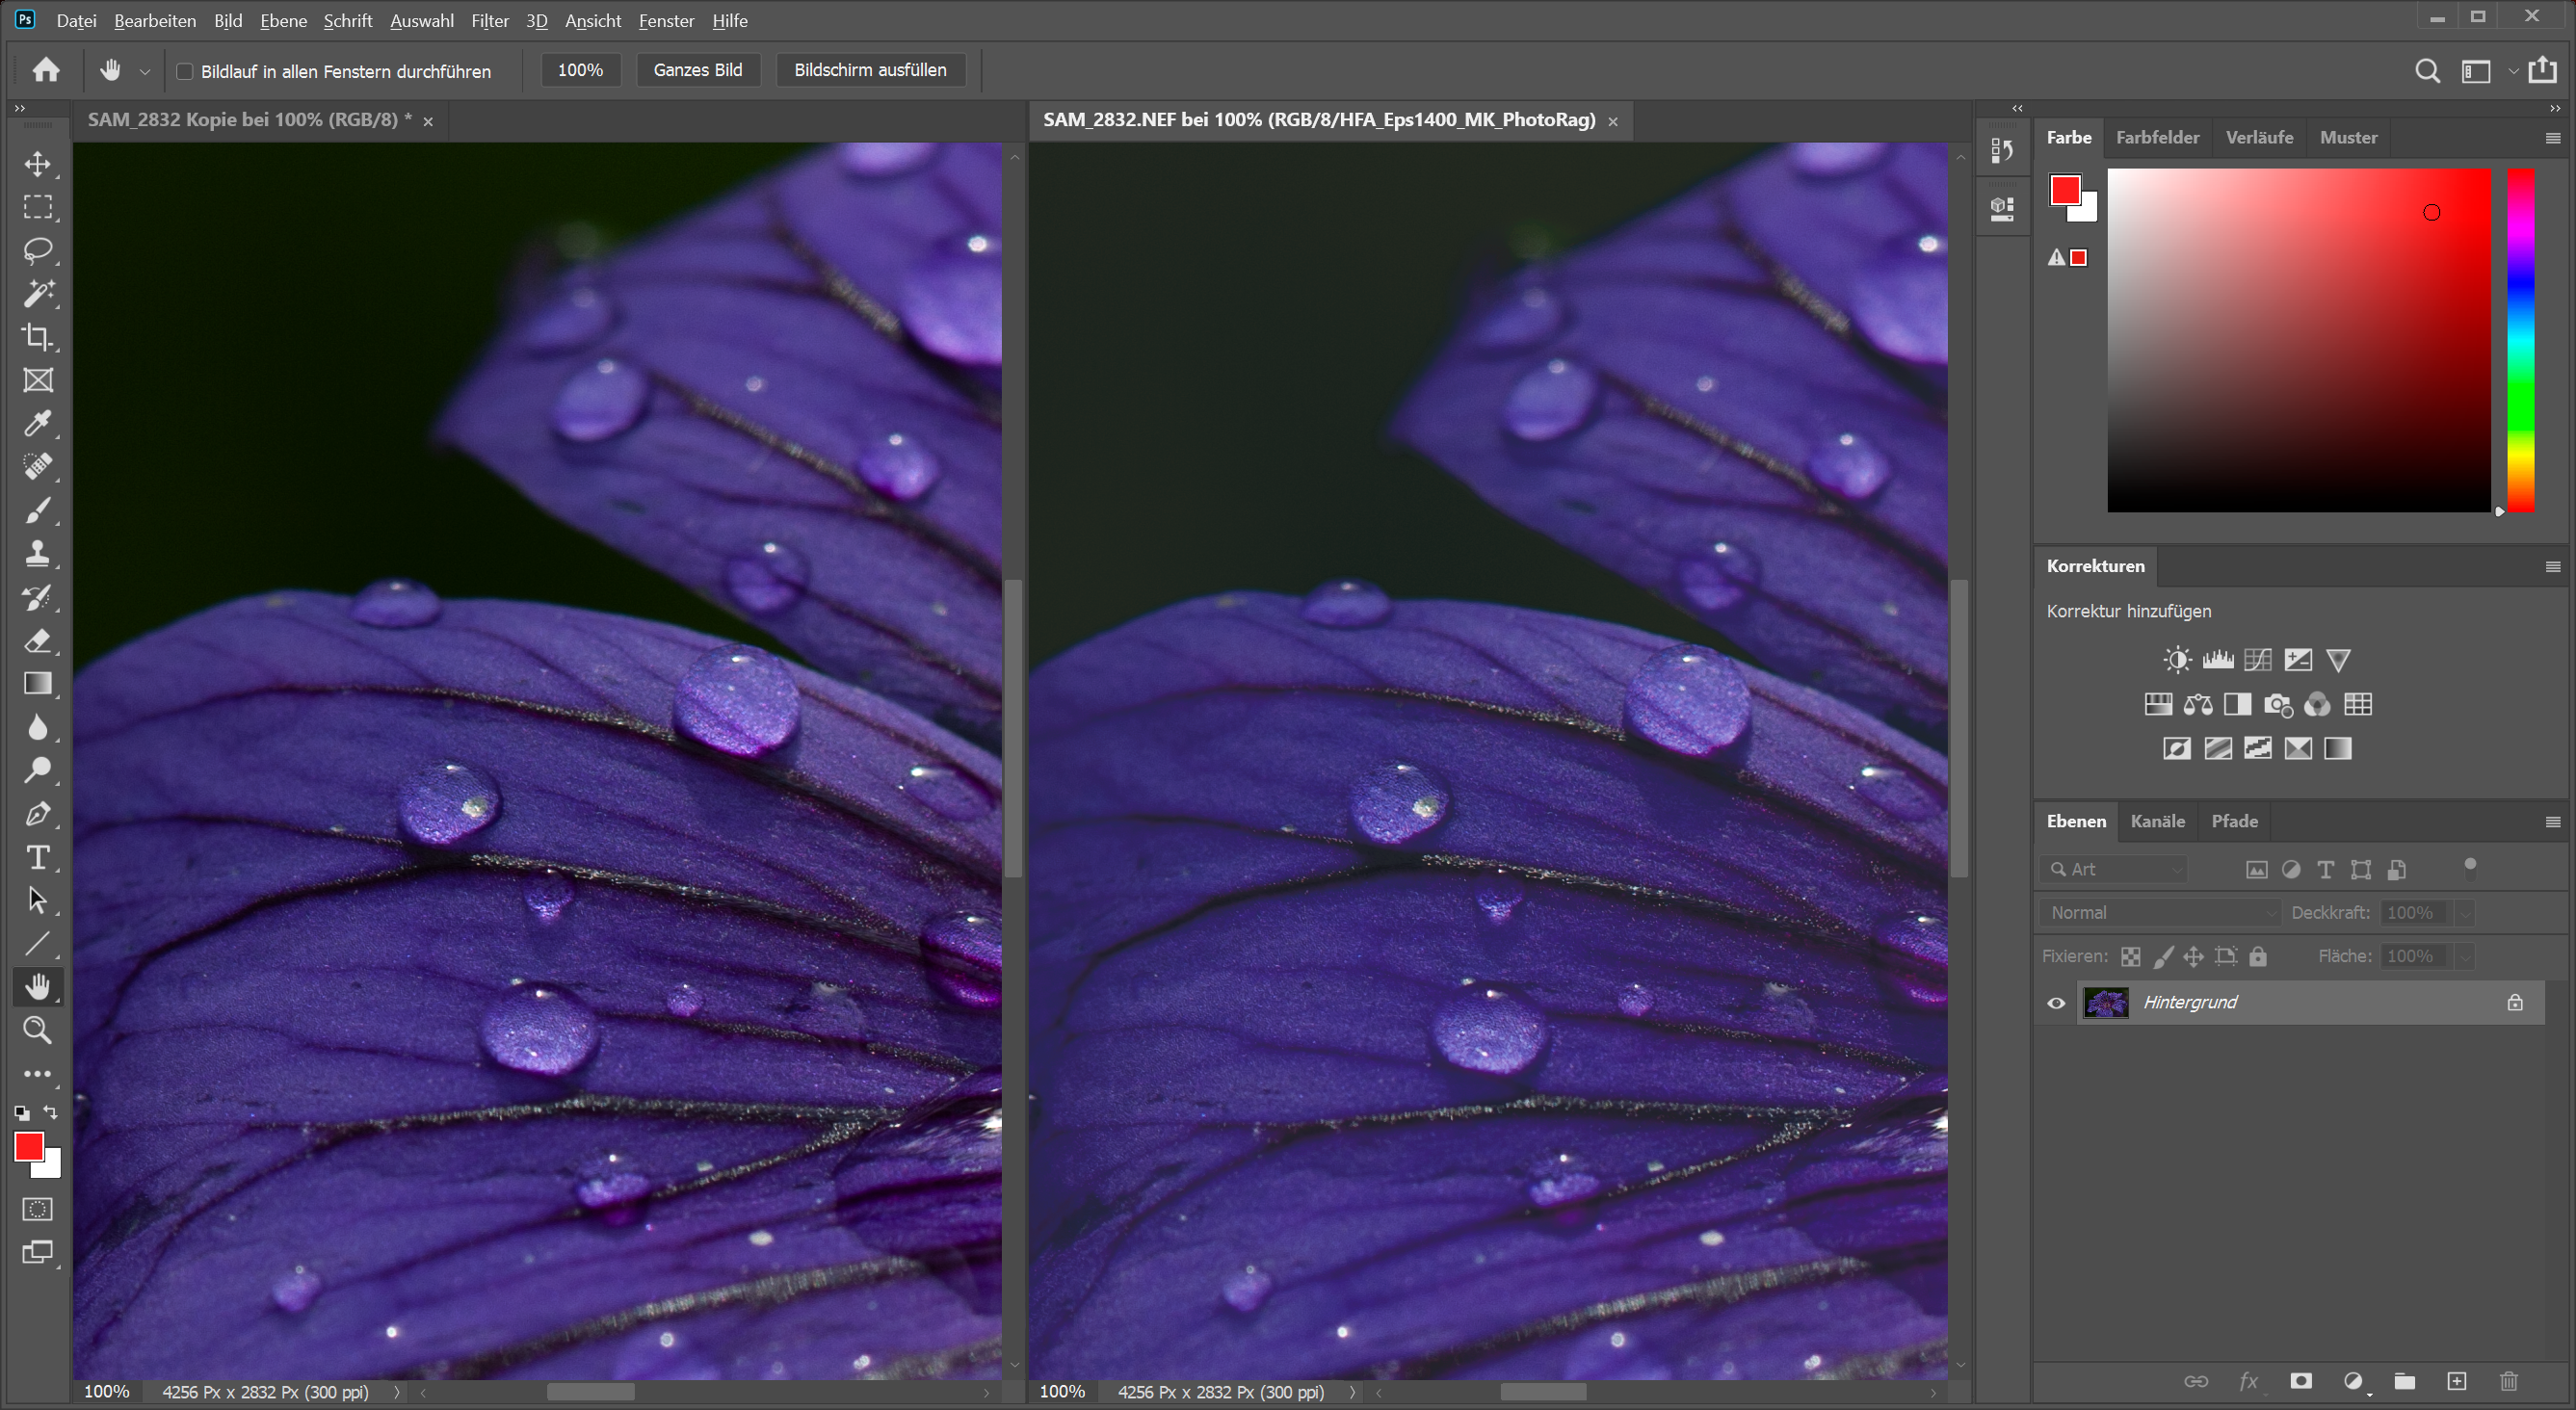
Soft proofing – Previewing the print result
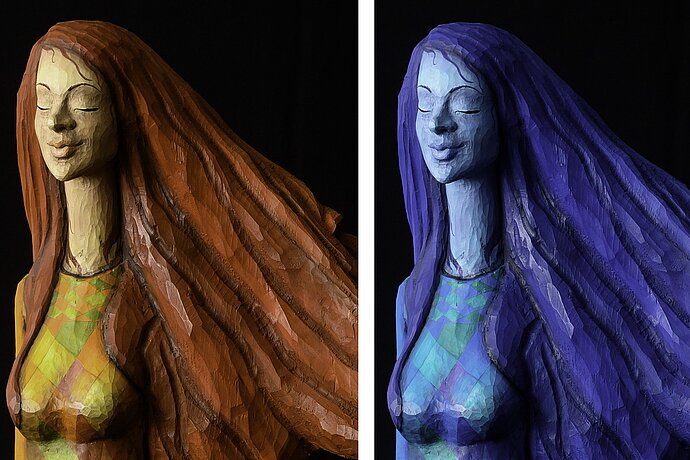
In image processing, images can be optimised with regard to these properties. But these properties cannot be changed. For example, I cannot force a cream-white piece of paper via the software to display pure white areas, because a conventional inkjet printer simply does not print any colour on the surface to produce the white areas. And it is not possible to force a brighter white than the hue of the material to be printed. It’s the same in black: The printer can print as much black colour on the canvas as it likes – once the print has dried, the black area will always look like a dark grey.
If you cannot change these properties, then what is the point of colour management?
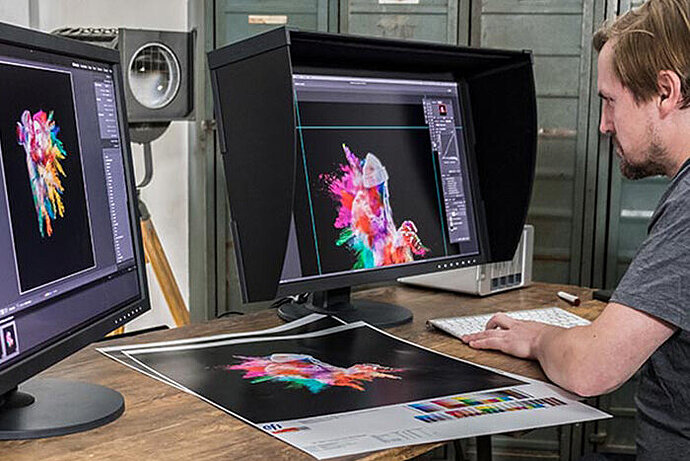
When we edit images, we always do it ‘visually’, in other words, we expect what happens on the monitor to also correspond to the final result. But when it comes to printing, this expectation is only justified if we can take into account the specific properties of the planned print. We cannot force the printing process to behave in the same way as the monitor display, but we can ensure that the monitor display matches the print.
To do this, however, you must enable your image processing programme to simulate the next processing step, that is, printing. To make this possible, the specific properties of the combination of printer, colour and printing material must be known. These properties are saved in an ICC profile and enable the image processing software to simulate the effect of the printout in the soft proofing view.
ICC profiles for the soft proofing view when doing your own printing
Where can I get these ICC profiles from? If you do your own printing, you have two options.
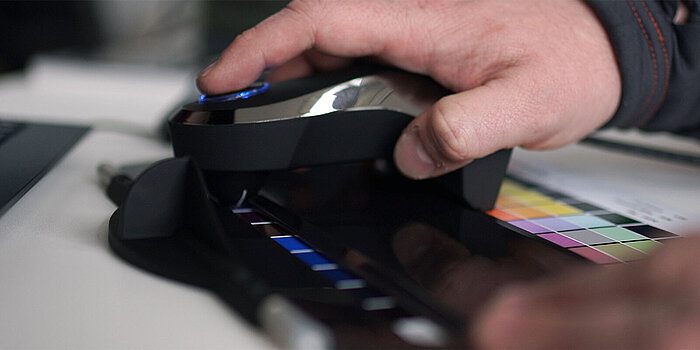
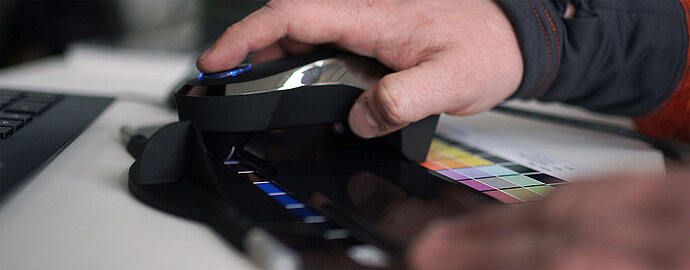
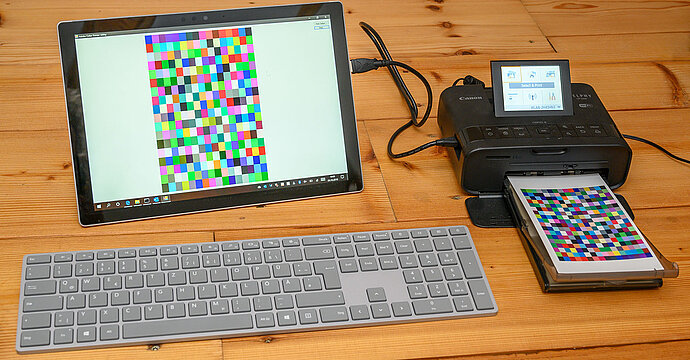
Firstly, you create a profile yourself. To do this, you need a measurement sensor (spectrophotometer such as the datacolor SpyderPRINT or the x-rite i1). The corresponding software is used to print colour patches that are then measured with the measuring head. This procedure is the most accurate, as it creates an individual profile for the specific properties of the printer/colour/paper combination used.
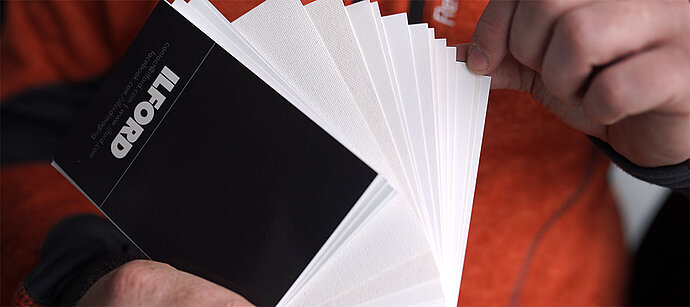
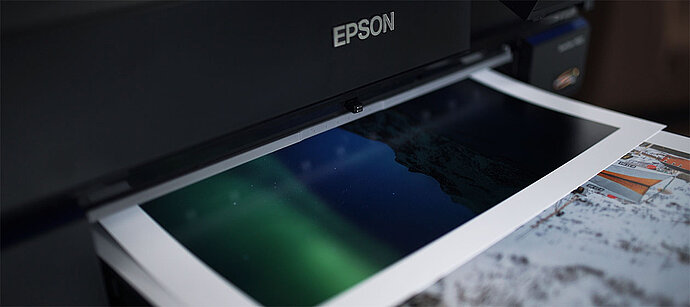
Secondly, if you use a professional printer from the Epson SureColor P series or a Canon printer from the Pixma Professional series, you usually do not need your own measurement sensor, but can download profiles from the printer manufacturer for use with the original papers. If you want to use papers from third-party providers such as Tecco, Hahnemühle or Ilford, you can find these profiles on the manufacturers’ websites. Although these profiles are not as accurate as the ones you measure yourself, in most cases they result in a meaningful soft proofing view. It is important to note that these profiles will only produce useful results if original inks are used. If you want to use third-party ink, which I would not recommend in fine art printing, there is no way around individual profiling.
Always set the paper type correctly
One thing that is very important when doing your own printing is to set the correct printer settings. The paper type (media type), paper thickness and the corresponding print profile must be set correctly in the print dialogue so that the printer can be controlled correctly and the result corresponds to the soft proofing view.
ICC profiles for the soft proofing view from service providers
But even if you don’t print yourself, you can still use the soft proofing view.
Many printing companies also offer these ICC profiles for download for their various materials. So even if you do not print your images yourself, you can still see on the monitor what the finished print will look like. However, here, it is important to look for providers who offer these print profiles. Otherwise, particularly with materials that differ significantly from a glossy photo paper, there is a high risk that you will be disappointed with the printed result.
You should be particularly careful with inexpensive large-scale developing machines. They often run an automatic image processing function on the submitted images. Most of the snapshots of the majority of customers are improved by this automatic function. However, if, as an ambitious photographer, you want your image to be printed as undistorted as possible, this automatic function is undesirable, as it can filter out, for example, the colour look that you have intentionally given your image.
Alternatives to your own measurement sensor
The devices for creating printer profiles are expensive compared to camera profiling and screen calibration, and creating the profiles is time-consuming because many colour patches have to be measured.
If you don’t want to profile your print workflow yourself and there are no profiles to download, it can be a good idea to have a service provider take care of this. This is not as bad as it sounds because no one has to come to you to do this and you do not have to send in your printer. All you need to do is print out the required colour charts in a specific way and send these prints to the service provider, who will create a profile from the prints. This profiling is available in basic quality from as little as €27, while a printer calibration system can easily cost over €1000.
If you print a lot, it can be worthwhile to purchase a good printer and invest in your own profile. Alternatively, you should find a good printing company that offers reasonable colour management and let them do your printing. If you print again and again using the cheapest provider, you shouldn’t be surprised if the colours look different every time, because unfortunately very few people practise good colour management.
Scanner profiling
Some photographers are choosing to go back to using analogue cameras in order to relax a bit. But even here they do not want to go without digitalisation and so are still scanning their works. Good scanning software such as SilverFast or VueScan will offer the option to profile scanners as well. To do this, you scan a so-called IT-8 target, that is, a sheet with many colour patches once again. The scanning software compares this scan with a file belonging to the respective IT-8 target and creates a profile for the scanner from this.
Printer profiling via scanner
VueScan and SilverFast even offer the option of using the scanner to create printer profiles. For this purpose, an IT-8 target is printed via the scanning software on the printer to be calibrated and paper. This printout is scanned by the profiled scanner and the software creates a profile for the printer from this scan. When it comes to quality, profiling by scanner does not usually provide as good results as an expensive device for printer calibration, but it is much cheaper to purchase.